Last but not least was the leather fringe bag! This was by far the most extensive leather project that I have tackled so far. When I originally set upon this outfit project I had planned on making a fringe purse for myself, but a few weeks ago my friend and I were shopping and she had sticker shock when looking at a similar fringe bag. Since I was planning on making one anyway I said I would make it for her!


A lot of sketching and planning went into the design of this one. Even then I ended up having to revise my plans several times to accommodate the leather I had to work with.
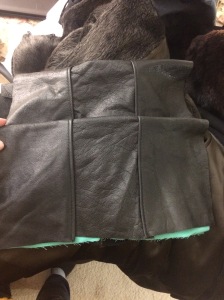
I ended up being able to go with my original plan for the back which was two leather panels, but the front I had to go with three smaller ones for the top and pocket. To stabilize the pocket and keep it closed I put a small strip of Plexiglas under the leather. I had originally planned on using magnets, but the ones that I had on hand were either to small or to heavy. By using Plexiglas the pocket remains flexible,but keeps the pocket from falling down spilling the contents and exposing the lining fabric.
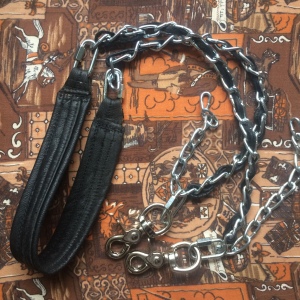
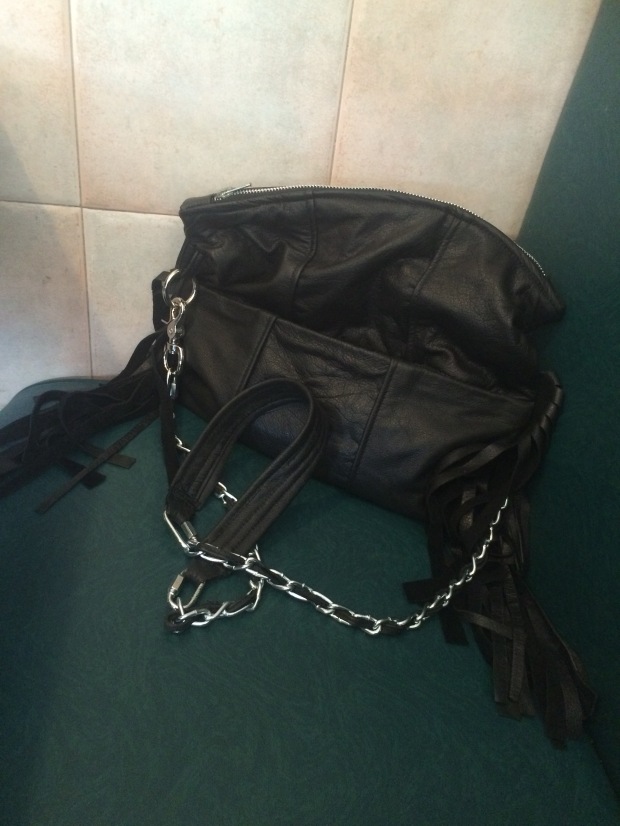
The strap was one of the hardest areas to decide what to do. I have already made a few other items from this leather jacket so I didn’t have that much for a long cross-body strap, and with it being super soft I wasn’t sure if it would stand up to the daily use that this purse could have. I decided to go with a part chain part leather strap. I was inspired by the chain straps Chanel is famous for. Luckily for me my significant other works at a hardware store so all the hardware on this purse was amazingly cheap. I also designed it in a way that it is easy convertible to an arm bag, shoulder bag, and cross body strap. Below are photos showing it using a different purse as a demonstration.


The zipper was also an area of some contention. I didn’t have one on had that was an exact fit, but I had a separating zipper that I could use. I removed some of the existing teeth and moved the stoppers on the top to make it the correct size then just sewed a leather zipper tab on the bottom to stop it from ever separating.


All and all I am quite happy with how this project turned out. She is over the moon about her new purse! One of my favorite things about this project is that I had almost everything on hand.


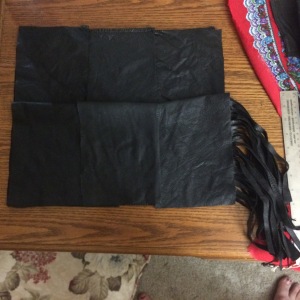
The leather was a back panel from this old leather jacket that I have used for several other projects, and the lining fabric was made from the legs of a pair of pants that I had turned into these awesome shorts last summer . The zipper was purchased for pennies at a thrift store and as as stated earlier the hardware was purchased at a deep discount.
Here it is at its debut! Breakfast at the local Cafe, and a little later in in use at the thrift store!


Gorgeous! You could start your owl line of handbags. I would definitely buy one from you.
LikeLike
Thank you so much Maria!
LikeLike
Of course I meant ‘own’
*typo*
LikeLike
No worries I understood…but I think making an owl purse would be amazing!
LikeLike
Your finished product is very professional looking. Wow! How did you attach the strap to the bag…using existing belt loops? The pocket stabilizer method was ingenious. I am so impressed 🙂
LikeLike
Thank you! It was actually my boyfriends idea to put Plexiglas in the pocket (I will pass on the compliment)! Also good call at calling the attachments belt loops that’s basically how I made them! My friend has already asked me to make another for her mom as a Mother’s Day gift!
LikeLike